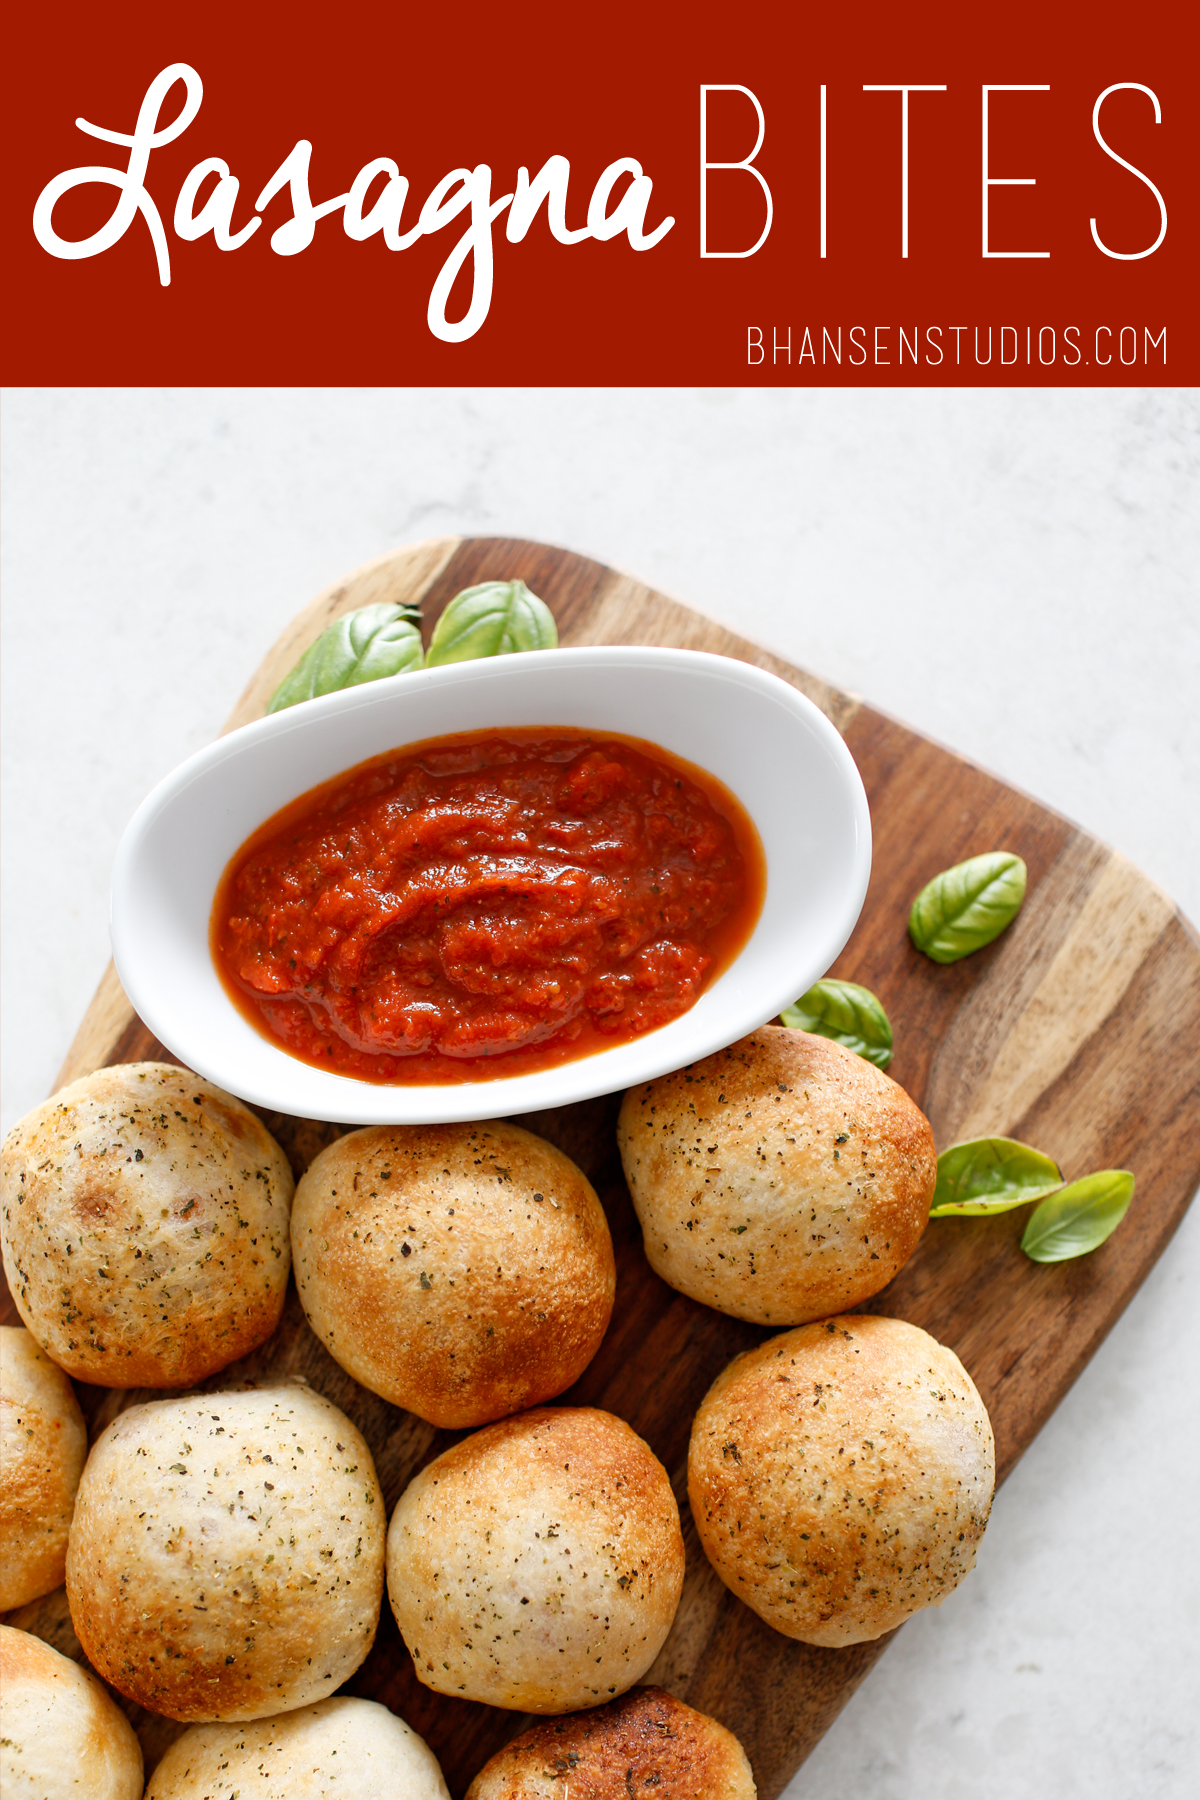
Be the Hostess with the Mostest – Easy Lasagna Bites – Perfect game day appetizer
I honor of Super Bowl LI, here is an easy game day snack. These easy lasagna bites appetizer is always a crowd pleaser. But for the sake of realness, I will not be watching the game. I am one of those wives that casually strolls in to see some of the commercials, but otherwise is browsing my favorite online shops. Reading up on new recipes, or in gulped in a good blog post. Thank you internet for keeping me forever entertained.
As a foodie, regardless of loving football or not, I always want to keep the people happy with easy, tasty snacks. I can be a bit of a procrastinator, and was able to throw this simple treat together quickly. So that’s a WIN for me too! Read more
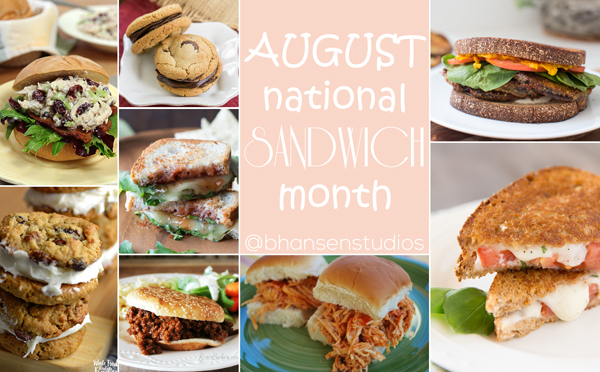
I am gladly welcoming August for two reasons, its national sandwich month, and my kids are heading back to school soon! Double YES! And I really love getting creative with what to pack in my kids lunch boxes. So I’ve rounded up 8 great sandwiches from dinner to dessert. If you have a great sandwich recipe leave the link and I’ll add it to the list!
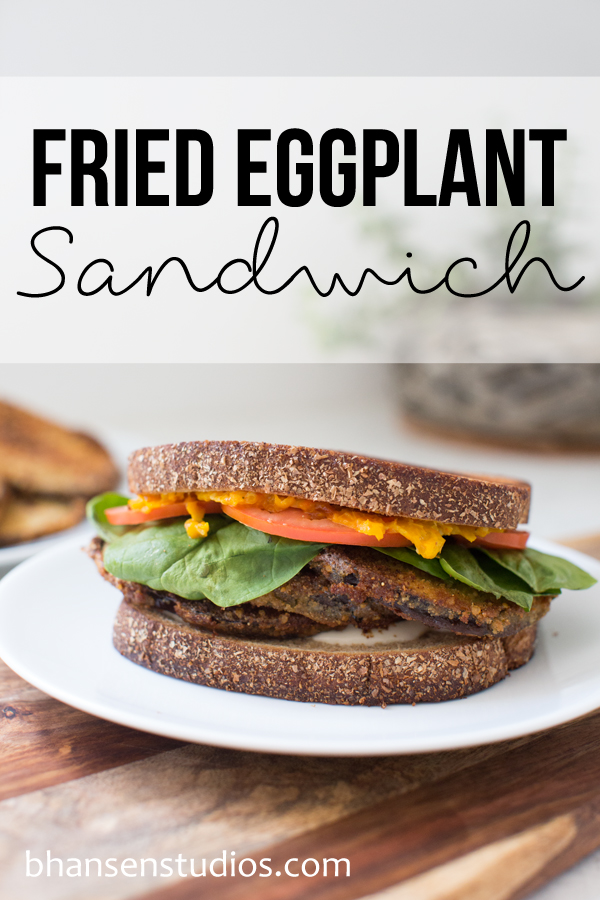
Fried Eggplant Sandwich
This savory fried eggplant sandwich is both satisfying and filling. A roasted pepper and garlic spread bring the eggplant to life in this mouth watering recipe. A perfect way to celebrate National Sandwich month and impress your family and friends.
Homemade Oatmeal Cookie Sandwich
Head back to your childhood with this Homemade Oatmeal Cookie Sandwich. This version is just a little healthier and without the plastic wrapper!
Grilled Caprese Sandwich
This tasty grilled caprese sandwich is perfect lunch or dinner. It’s quick to prepare and is ready in just minutes. It’s warm, filling, and full of gooey mozzarella cheese!
Marshall Field’s Chicken Salad Sandwich
My version of a classic sandwich from an iconic Chicago Department Store. Roasted chicken is combined with dried cranberries and nuts in a mayo and sour cream dressing and it’s all topped with crisp bacon. Perfect for National Sandwich Day!
Crockpot Buffalo Chicken Sandwiches
These buffalo chicken sandwiches are full of amazing flavor and cook while you go about your day! This simple and tasty weeknight dinner is perfect for busy families.
I believe everyone needs to be photographed in the place they live at least once. This is my dear friend Tina from Time Out With Tina. We have been friends since we were 15 years old. We’ve only lived in the same state one year of our lengthy friendship. I’d say that’s pretty darn impressive. But the most impressive part of this beautiful human being is her giant heart. Tina was born with a heart to serve others. She is just an all around amazing person. So when I approached her about a new blog project I am starting, she was on board before I even got through my second sentence. It was pretty easy to get Tina in the kitchen for me to photograph. Read more
Fried Eggplant Sandwich with sweet pepper and garlic spread
Before you go and get started on this project of a sandwich, let me warn you… it takes some time. Completely worth it in the end. I prefer to make this when I already have left over fried eggplant from the day before. But if you’re in the mood for a delicious, hearty, warm and gooey sandwich, and you’ve got some time to spare…this one’s for you! I am going to give you all the yummy layers to this satisfying Sammy, get ready for a treat.
I like to keep this roasted mini sweet pepper and garlic spread on hand. Not only is it super easy to make and store, it goes great on a lot of things! Pasta’s, sandwiches, and even stuffed into chicken!
Roasted sweet pepper and garlic Spread
To make: Buy a bag of mini sweet peppers and a whole head of garlic. Remove seeds and stems from peppers and cut them in half. Place your chopped peppers along with 4-5 big garlic cloves on a baking sheet, drizzle some olive oil and sea salt of the top and bake at 400 degrees until golden.
Let it cool and blend in a small food processor. Store in glass jar in your refrigerator for up to two months.
Fried eggplant is one of my favorite snacks. Eggplant is a staple in my kitchen. But I’ve shared this before. To bread my eggplant I give them an egg bath and dip them in a 2-3 ratio of parmesan cheese and bread crumbs. Add a pinch of salt to your dry mix. I like to bread all the eggplant prior to starting, this way I am not trying to do two things at once, causing me to burn them.
Fry on both sides until golden brown in some extra virgin olive oil.
Now to the good part, building this amazing sandwich for you to actually enjoy! I begin toasting my bread with fresh mozzarella on one slice, and my roasted sweet pepper and garlic spread on the other. Once my bread is toasted to buttery perfection I add some thinly sliced tomato, handful of spinach leaves, and of course your fried eggplant. Add as many of each as you want. You really can’t go wrong when making this sandwich.
I could eat this sandwich everyday, and not get sick of it. True story.
The kitchen has a very special place in my heart, I was so excited that this months theme was “Kitchen”. My head was just buzzing around with all the ideas I had. But this month truly got the best of me. So I decided I am keeping it real and just sharing a few shots from our kitchen renovation. It has been a long and grueling process. We started this whole home renovation in 2014. We completely gutted the kitchen, all the way down to the bare bones. Just walls and concrete floors. You can see the makeshift kitchen I used for seven months HERE. I am not entirely sure how I survived it feeding a family of seven but I did. (Pats self on back.)
When we first discussed downsizing and moving into our investment home, I had one condition… the kitchen needed to be remodeled. Ok, need is a strong word, but it was poorly designed and lacked a lot cabinet space. At first we thought we’d be able to get the remodeling done prior to moving in. That thought came and went fast, we had a hard time getting our home sold. We then decided to move in during construction. Something I do not recommend. I spend most of my time in the kitchen because I love to cook. So cooking (and living) in a construction zone is quite challenging. When I started designing my kitchen I knew I wanted white cabinets. I wanted the space to feel bright and airy. Since the original kitchen didn’t have a window, installing ours above the sink really made a huge difference.
Let me tell you why the kitchen is my favorite place to be. Food is my daily therapy. Not in an eating disorder way or anything, but the flavors and variety of food really help me deal with life. (Yea and wine definitely helps me cope too.) It’s a creative therapy, I love to find new spices or ingredients and try something I’ve never tried before. Cooking is how I connect with people. If you’ve come to my house, I probably force fed you. I just can’t help it. The kitchen is where I bond with my family and friends. Where every one congregates when we have company, where we laugh, share meals and swap life stories. Its where I appreciate the circle of life in terms of food. Its my safe place. I can fail in there and know that I’ll be right back in there the next day. The kitchen is the heartbeat of my home.
Once the kitchen is all finished I plan to share more of my favorite recipes.
Finally we are starting to see the light at the end of this remodeling tunnel! Here are some shots of the kitchen progress. It’s still not done, there is a cabinet that needs to be replaced, we need base boards, and still need a backsplash. But we did just have the concrete stained grey, a temporary fix to the ugly concrete floors you see in these photos. I’ll save those photos for the final reveal. Hopefully I can find some before pictures to share as well. Before you leave be sure to jump on over to Woodsy Wonders Photography and see her awesome images from this months theme.
And this cute little area is reserved for our #hansencompound quotes. This one reads “Fair is where you go to eat cotton candy and get your face painted”. A life lesson my kids all learned early on. We don’t say things like “life’s not fair”.
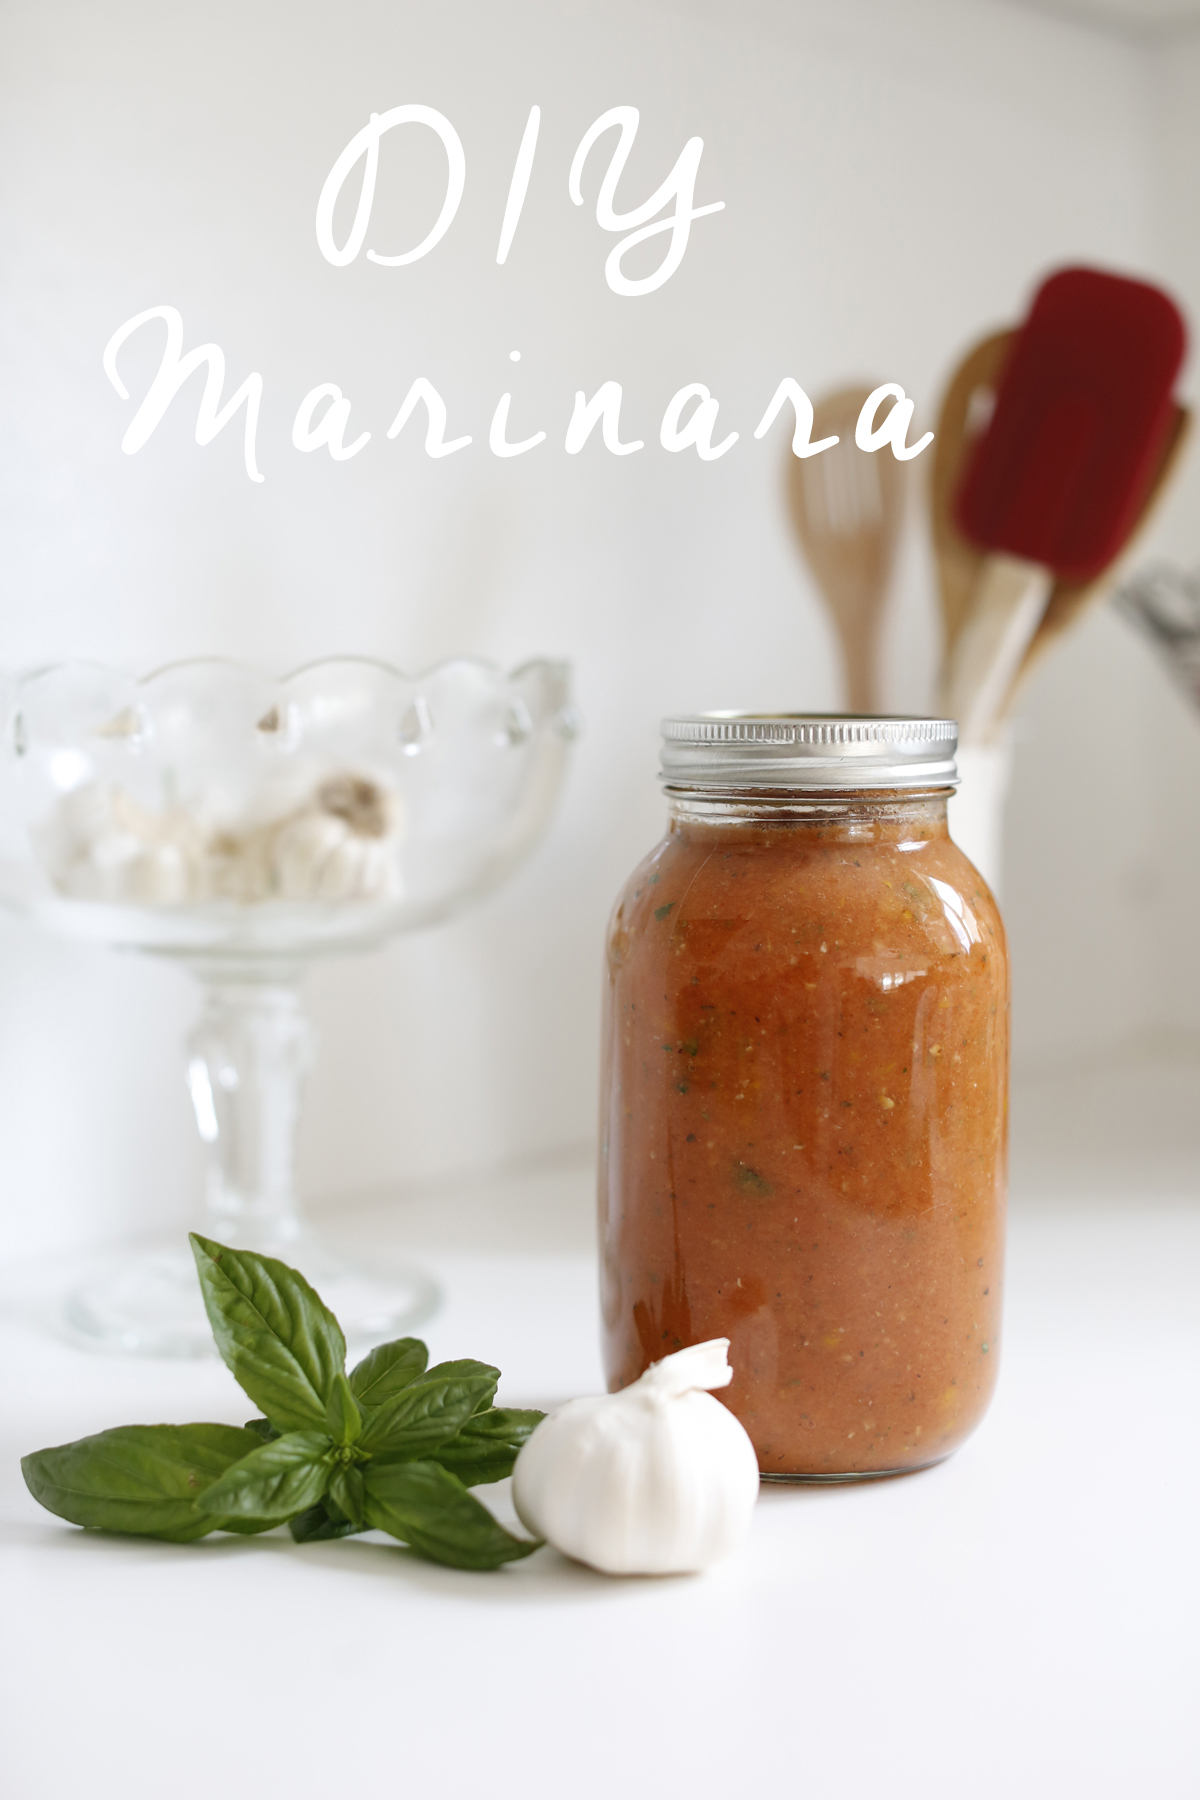
So yesterday’s post was all about the pickles. Todays Taste of Paradise overstock situation is tomatoes. This is another first time recipe for me. One that I will likely continue to work with. But for now, I am pretty pleased with the taste! Pleased enough to share with you all.
Ok, before you decide to take on this project, let me first tell you, it’s both time consuming and messy. BUT it’s worth it in taste and health factor. Plus, sometimes it just feels good to make something from scratch. And if you really have A LOT of tomatoes you can freeze some in bags or jars for later. Or you could can them yourself. One of these days, I will cover canning. But today’s not that day.
I had about 9 medium-large tomatoes. To get started, I washed and cut an X into the bottom of each tomato. I boiled a large pot of water, once the water was boiling I added my tomatoes and let them continue to boil for about 5 minutes. You’ll want to blanch them to make it super easy to skin these little suckers. So as soon as your five minutes is up, throw those little red gems into an ice bath. I tossed them in just long enough to handle them without burning my hands. Probably like 10-20 seconds. The skin should come off really easy. A few of my tomatoes weren’t fully submerged so some took a little extra TLC to peel.
Once you’ve peeled them, you’re ready for the next step. Deseeding the maters. This was the part I found to be extremely messy, and I can’t really think of a less sloppy way to handle this. I am sure there is, and if you know it… do share in the comments! What I did was cut them in quarters and pulled the seeds and juicy pulp out with my hands. There was tomato guts ever where in my kitchen, it looked like a fresh scene from Season One of The Walking Dead. I feel like if I would have used a spoon, it would have been more like a scene straight out of Dexter.
Lets get back on track here. Less sloppy talk, more cookin!
Ingredients:
8-9 large tomatoes
3 large garlic cloves
2 tbsp. olive oil
2 tsps. Italian season
1 tsp oregano
1/4 tsp of chili powder
1/4 tsp garlic powder
2 tbsp. of tomato paste
1 small yellow pepper
salt and pepper to taste
a handful of fresh basil
Sautee diced yellow pepper until tender, add minced garlic and cook until its golden. Be sure to stay close and not burn it. Set aside.
In a blender or food processor, combine your skinned/deseeded tomatoes and yellow pepper and garlic. Add all your other dry ingredients. Blend on chop or liquify. Add in your tomato paste. This is really a personal preference, add as much paste as your want to achieve your desired consistency. Blend again, then add in your fresh basil. I transferred to a jar right away, because I didn’t plan to use it right away.
Reheat in a sauce pan, salt and pepper to taste! Serve in any pasta dish. If you add a bit more paste, this would make a wonderful pizza sauce as well!
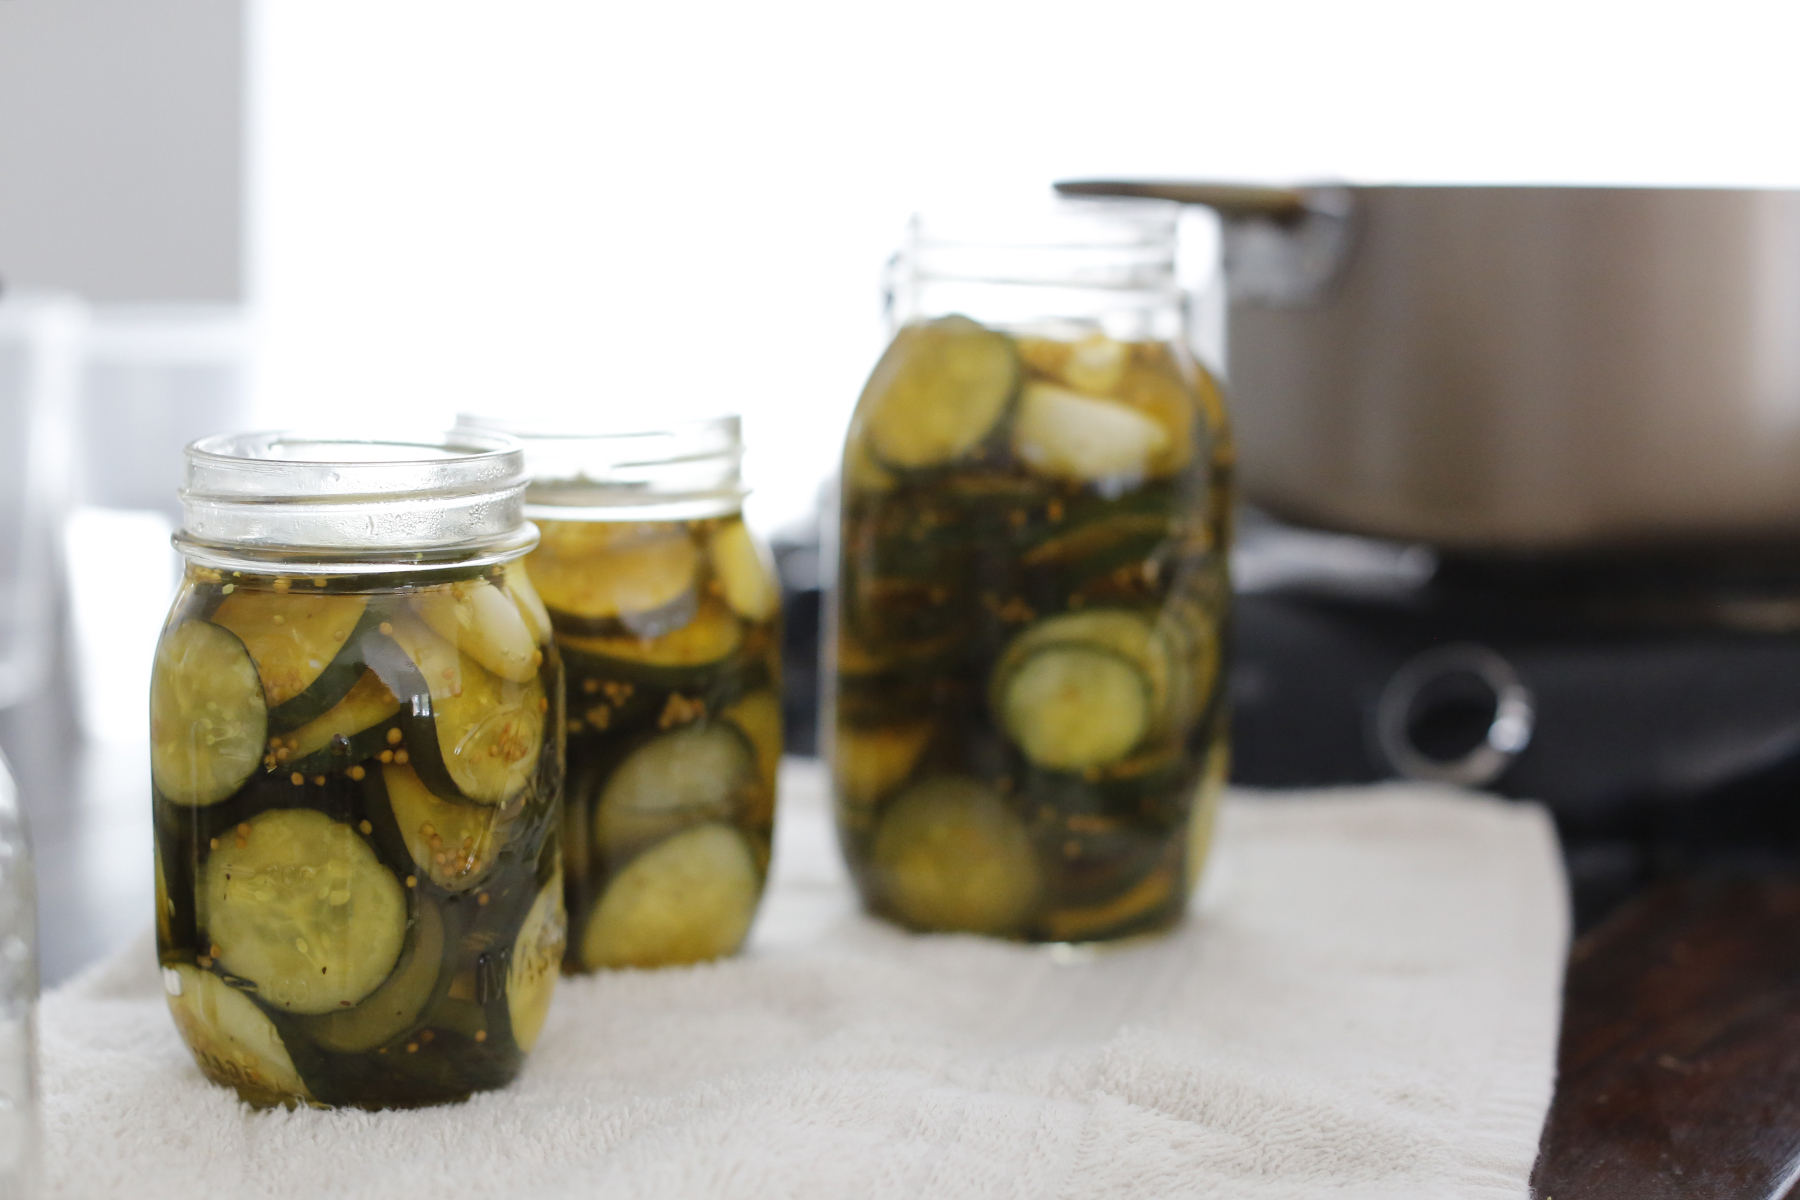
Every summer I like to make bread and butter chip pickles. They are about the only pickles I actually like. Most of the years I have made them, I have grown our cucumbers. I rarely ever buy cucumbers at the store, they are always so waxy. For the past year, I have been picking up farm fresh veggies from a local company called Taste of Paradise. They are a weekly CSA that also offers one time pick up’s. That is pretty unique for a CSA. My “one time pick ups” have turned into a weekly order of two family size bags. They release their veggie list a week out, so this really helps me plan my weekly meals. The real bonus of course is that fact that the produce is so much better than what we find in our local grocery stores.
Sometimes, because I am picking up such a large quantity of vegetables, I end up with some excess that we really don’t eat on the regular. In this instance, I ended up with a lot of cucumbers. Since our move last October, we don’t quite have the garden size we are used to. And we aren’t growing any cucumbers. SO duh, there’s only one thing I would do with all the extra cucumbers. Make pickles!
Here is my EASY Bread and Butter Chip Pickle recipe. Anyone can make them. Anyone.
Ingredients:
5-6 Large cucumbers
1 tsp pickling salt
2 cups of sugar
1/2 cup brown sugar
1 cup apple cider vinegar
2 cups of white vinegar
3 tsp mustard seeds
1/2 tsp of celery seeds
1/4 tsp turmeric
Start our by slicing your cucumbers evenly. I use a mandolin and cut them on the largest setting. I feel like it keeps them crunchy. Add your pickling salt and refrigerate for at least 2 hours.
After your cucumbers have had time to chill, combine your other ingredients in a large pot. Bring it to a boil. Once it is boiling add your cucumber slices and bring it back to a boil. I usually let them boil for about 5 minutes and remove from heat. Have your jars ready. I pack my jars as full as possible with cucumber, let them rest and pack them some more.
I also like to add fresh garlic cloves before sealing my jars. And I have been known a time or two to stuff in a fresh serrano pepper. That brings on some heat, so if you do that, do it with caution.
In this pickling, I didn’t seal my jars with a pressure cooker, because it wasn’t a huge batch. They will last in your fridge for a few months. And we eat them fast enough that I’m not at all worried about them going bad.
I have also used this same liquid recipe to pickle red bell peppers, and when adding a serrano chili to that is amazing! I’d love to know what you like to pickle! Let me know in the comments.
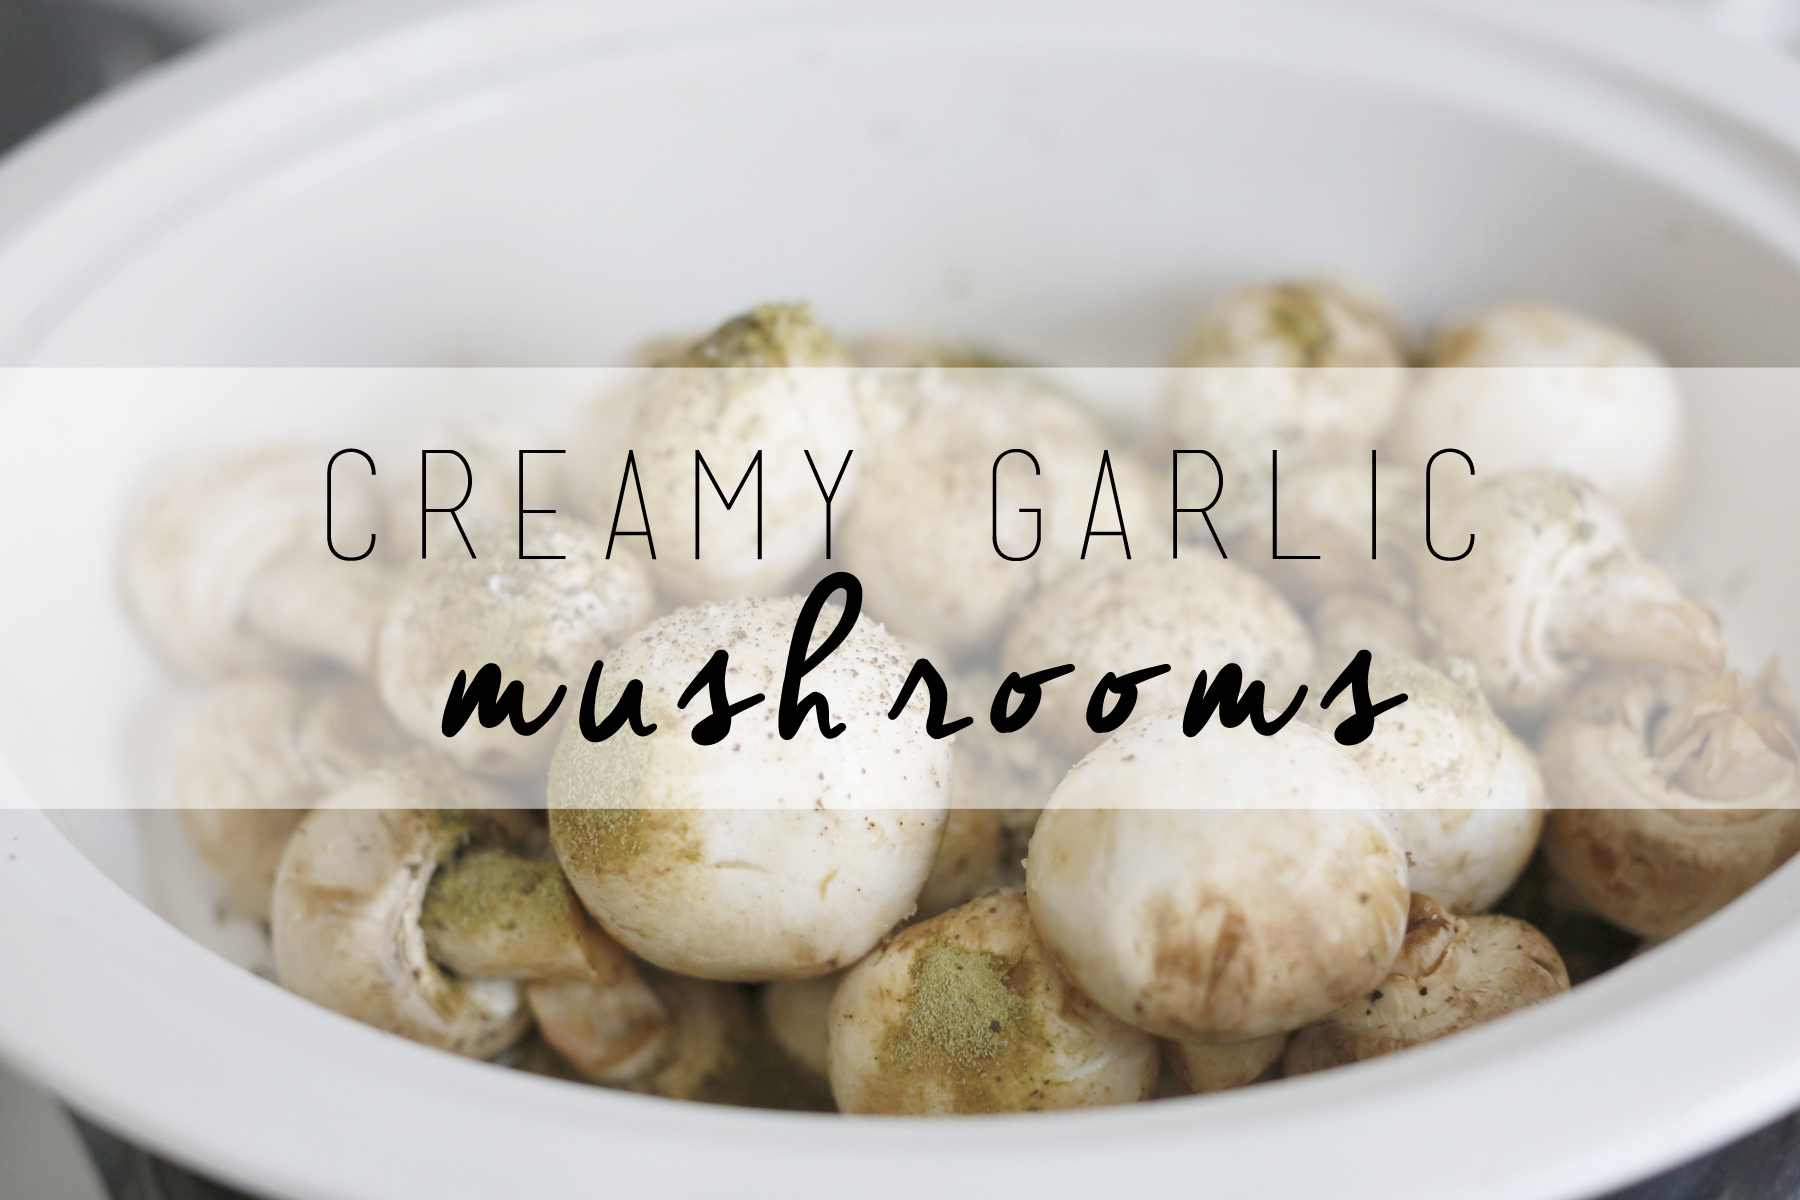
Easy creamy garlic mushroom recipe. So I made these the other day for the first time. I had a few bags of mushrooms and wanted to try something new. I found a recipe on pinterest by Damn Delicious. I never seem to have exactly what I need when trying out new recipes, but am pretty good at substitutions. (Or at least I think I am.)
Seriously, this maybe one of my new “go to” mushroom recipes. I think it can be so versatile. I served them over egg wide noodles and added some chicken. That’s what I like to call a “one hit wonder” – that’s a meal that has a veggie, a meat, and something to make complete, like a thigh fattening carb.
Here’s my take on this creamy garlic mushroom recipe.
Ingredients:
a bunch of mushrooms – two cartons
6-7 large cloves of garlic (um, I don’t believe they can be too garlicy)
2 bay leaves
1 tsp dried oregano
1/2 tsp dried thyme
1/2 tsp Italian seasoning
1/2 cup half and half
3 tsp corn starch
4 tbps butter
salt and pepper to taste
Step 1: wash your mushrooms.
Step 2: mince your garlic
Step 3: add mushrooms, garlic, bay leaves, seasons, and chicken stock to your crock pot. Cook on low for about 2 hours.
Step 4: after your mushrooms have cooked for a few hours, take about 3/4 cup of broth from your crock pot and add in your corn starch. Whisk starch until completely dissolved, add back into your crockpot. At this point, add your half and half and butter.
Step 5: Optional, I added chicken as you can see pictured. Serve immediately. Garnish with fresh parsley or basil. The mushrooms had such a great flavor. They would also be great over rice, mashed potatoes, or even a steak!
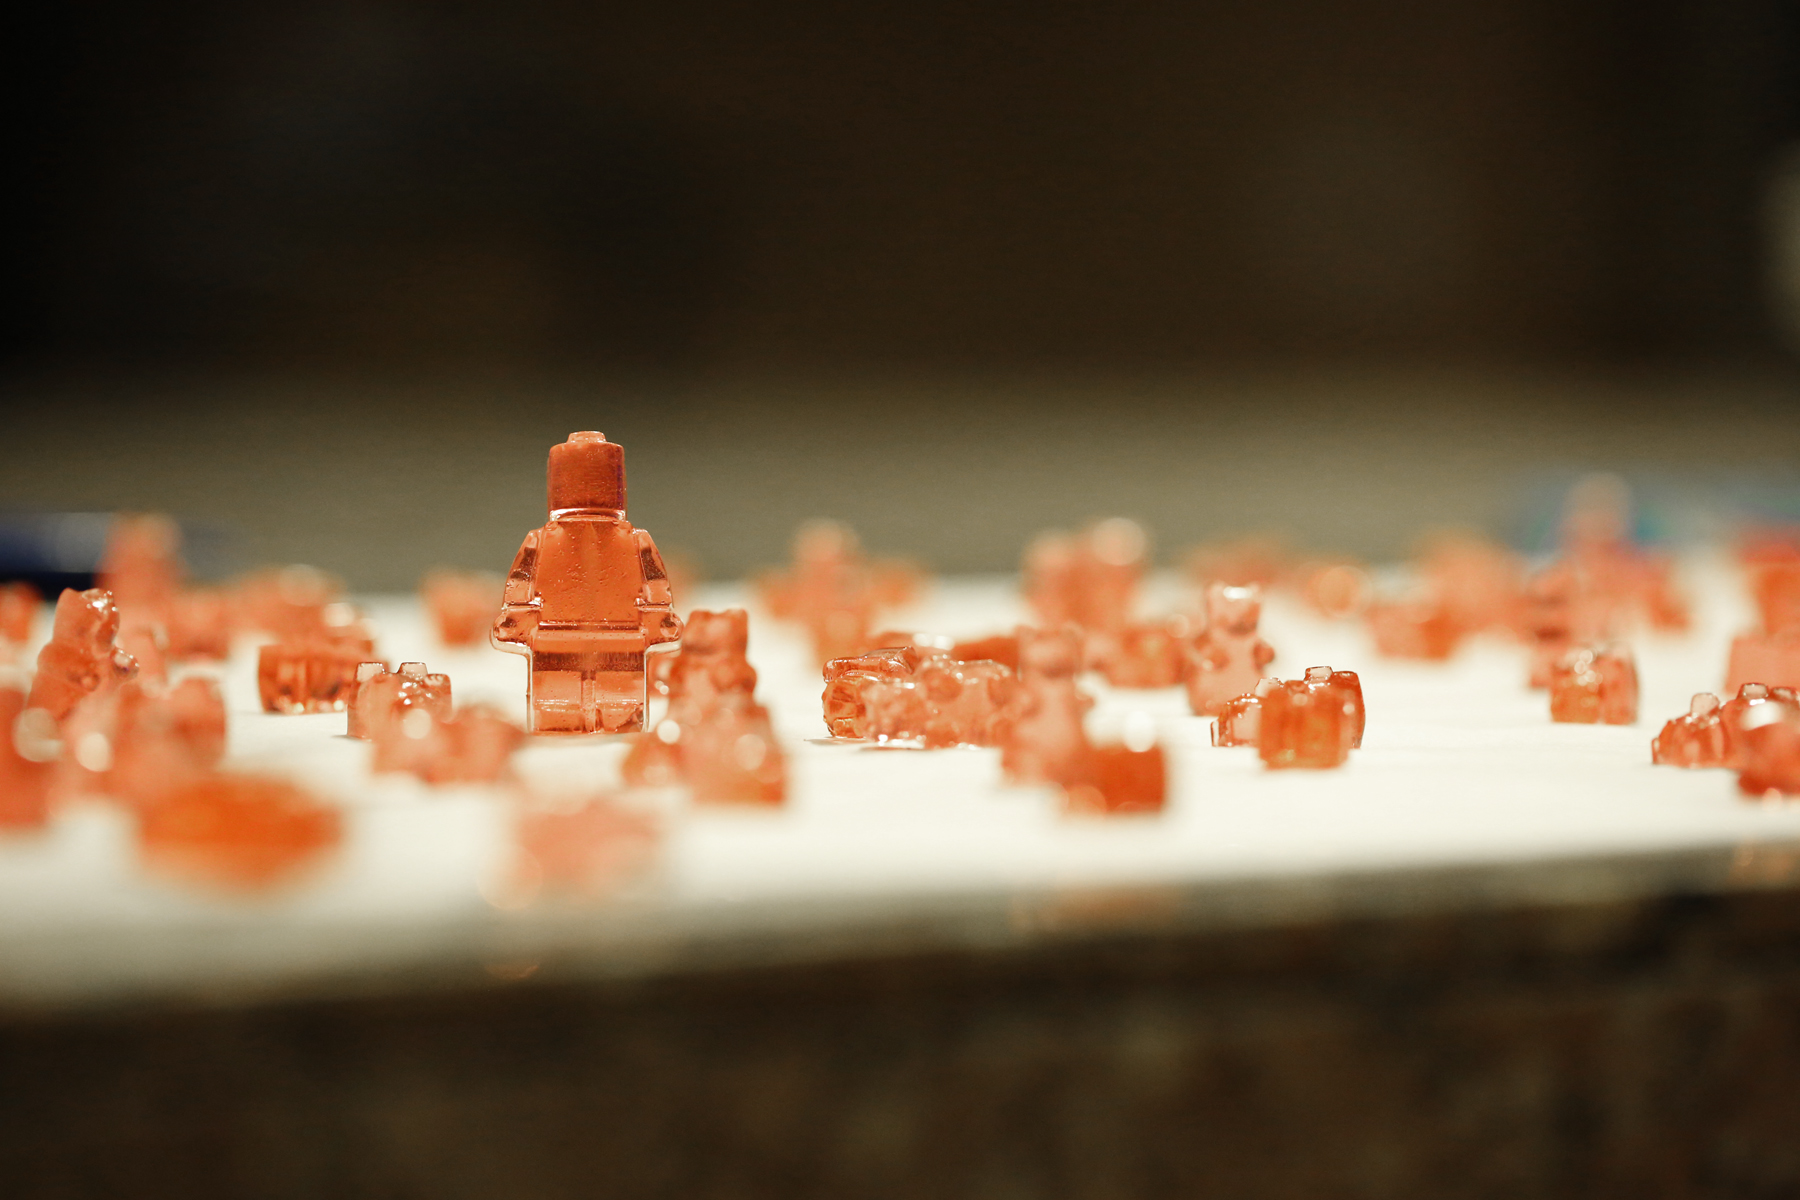
This DIY easy gummy bears recipe is so easy a kid could do it. (As featured here) I found an awesome YouTube video last week and knew I needed to try this out. Sometimes when I see things and think, hey now… I can do that, I end up being the butt of the joke. What seems like an easy project ends up being like I really needed to possess the skills and steady hands of a heart surgeon. Well, luckily for all us DIY parents, this was not one of those projects. This was so simple, my five year old did most of the work today as we made our second batch.
The ingredients are simple.
Some silicone molds
2 Gelatin packets
1 small package of flavored Jello
1/4 cup of light corn syrup
1/2 cup COLD water
I had to share the picture of my son’s hand. It was just too cute. Imagine little ole me, standing on a table chair trying to get all my ingredients perfectly in frame for the picture then my photo bombing son with his booger picking finger sliding in at the very last second to shout as loud as possible “mom, what’s this?!?!?” . And no, my son is too much of a germaphobe to actually pick his nose.
To get started combine your corn syrup with your cold water. Really make sure your water is cold, it makes a difference in your later steps.
Once all your corn syrup is completely dissolved in your cold water, pour it into a sauce pan. Do not turn the heat on at this point.
With your burner OFF, add your dry ingredients, your small package of jello and your two packets of gelatin, and mix well. The cold water helps the gelatin dissolve. Once its looking clear, go ahead and turn your burner on medium to medium low. I have a gas stove top so I needed to keep mine on medium low because my burners get really hot.
You will heat your gummy mixture for about 5-10 minutes, I waited until I saw tiny pre-boiling bubbles.
Once it hit that “pre-boiling” point I transferred my gummy mixture to a separate container. This is what separates the girls from the women. As the gummy solution starts to cool, the bubbles and any foam that came from your mixture rises to the top. After about 15 minute’s you can scrape off the pleasantries for a perfectly clear gummy solution. You could just go straight to the molds but the foam will end up being on the backs of your chewy candies. Thus raising questions like, “mommy, why it there nasty squish on my gummies??” or “mom, I have to eat my gummies rear first so no one see’s this foamy madness…”.
Once you have a semi cooled gummy solution, for best molding results, pour into a condiment bottle. I picked up a few at Walmart for .97 cents each. They make it so much easier to get the solution into your molds without over filling or spilling everywhere.
Once you have them in the molds, let them sit for at least 5 hours. And if you have the patience, just let them sit over night. If you unmold them too soon, they are quite tacky and stick to your hands like crazy. Washing your hands off frequently helps, but its super annoying.
Here are some shots of our awesomely fun easy DIY gummy bears and lego guys.
Eggplant is one of my favorite vegetables. There was a questionnaire going around on facebook not long ago, encouraging you to ask a series of questions to your children about their mother. One of those questions was “What’s mom’s favorite food”, and one of my kids lit up like an idea bulb and said, “I know, Eggplant”. It’s true, and if you follow me on social media, its a known fact. I have often posted pictures of eggplant dishes I have made, and I am always on the hunt for new ways to make it. In case you didn’t know, there are at least 14 varieties of Eggplant. There’s possibly more, those are the ones that I know of.
In my garden I have both white eggplant and Chinese eggplant.
The American eggplant most commonly sold in grocery stores are one of the bitterest as well. Odd isn’t it? There are other types that I have grown (literally and figuratively) to love. Those include Thai eggplant and Chinese eggplant. I have also grown American and white eggplant in my garden. I found that I love the sweetness of white eggplant, but the skin is incredibly tough. This year my Chinese eggplant has really done well. A little too well, as I have this abundance of eggplant and sometimes we just don’t eat it fast enough. I’d give it away, but people don’t exactly line up for eggplant. (Ahem, if you are a local friend and you want some, let me know, I’ll share)
Today, like most days, I look down at my watch and realize I’m starving because I haven’t eaten anything all day and it’s already 2pm. And like most days, I go to the fridge hoping that magically something new has appeared and I will rejoice in its flavorful delights. That part never happens. But hey, I am ever so hopeful. Upon todays cold box wishing I sighed at the ugly eggplant that was starting to wilt because; a) I like my fridge icy cold, b) its been in there awhile. Still eatable, just doesn’t look as pretty as it does the day I pick it. I tend to pick them early when the plant is young. It helps the overall production of fruit.
My sad little eggplant when its been over chilled and over stored in my fridge.
I proceeded to do what most people do in this “what do I eat” madness…. I went to pinterest. My first thought was that I was going to make some sort of burger out of this sad looking eggplant. Then I stumbled across this eggplant meatball recipe by Skinny Taste, and well I was intrigued. As I started pulling things out to make it I realized I didn’t have everything this particular recipe called for, but don’t worry… I am full of ambition and made some minor life altering decisions. No body died so its good.
Let’s get started on what you’ll need.
Ingredients
1.5 lbs of any variety of eggplant you prefer, I used Chinese eggplant.
2 tbsp. olive oil
1/2 cup cooked quinoa
1/2 cup almond flour
1/2 parm cheese
3 whole garlic cloves
2 tsp garlic powder
3 tbsp. of parsley flakes
1 tsp salt
few dashes of pepper
1 beaten egg
Preheat your oven to 375 degrees.
Step 1. Dice your eggplant into small bite size pieces. Combine eggplant bites with olive oil, whole garlic cloves, 1 tsp garlic powder, 1 tbsp. of parsley flakes and mix. Take a cookie sheet and spray it with cooking spray. Then toss your bites onto the sheet. Place in your preheated oven and bake until tender, mine took about 20 minutes.
Step 2. While your bites are roasting in the oven, cook your quinoa per package directions. Its typically a 1:2 ratio, so for half a cup of quinoa you’ll need to boil 1 cup of water. I added a little butter to my quinoa, just out of habit I suppose.
Step 3. Once your bites are done you will need to chop them up in a food processor or blender. You don’t want them to become too mushy. So pulse them to keep them somewhat coarse. Using the same bowl you seasoned your eggplant bites, add the chopped up slightly mushy bites with the cooked quinoa, beaten egg and the remaining ingredients. Make sure everything is evenly mixed.
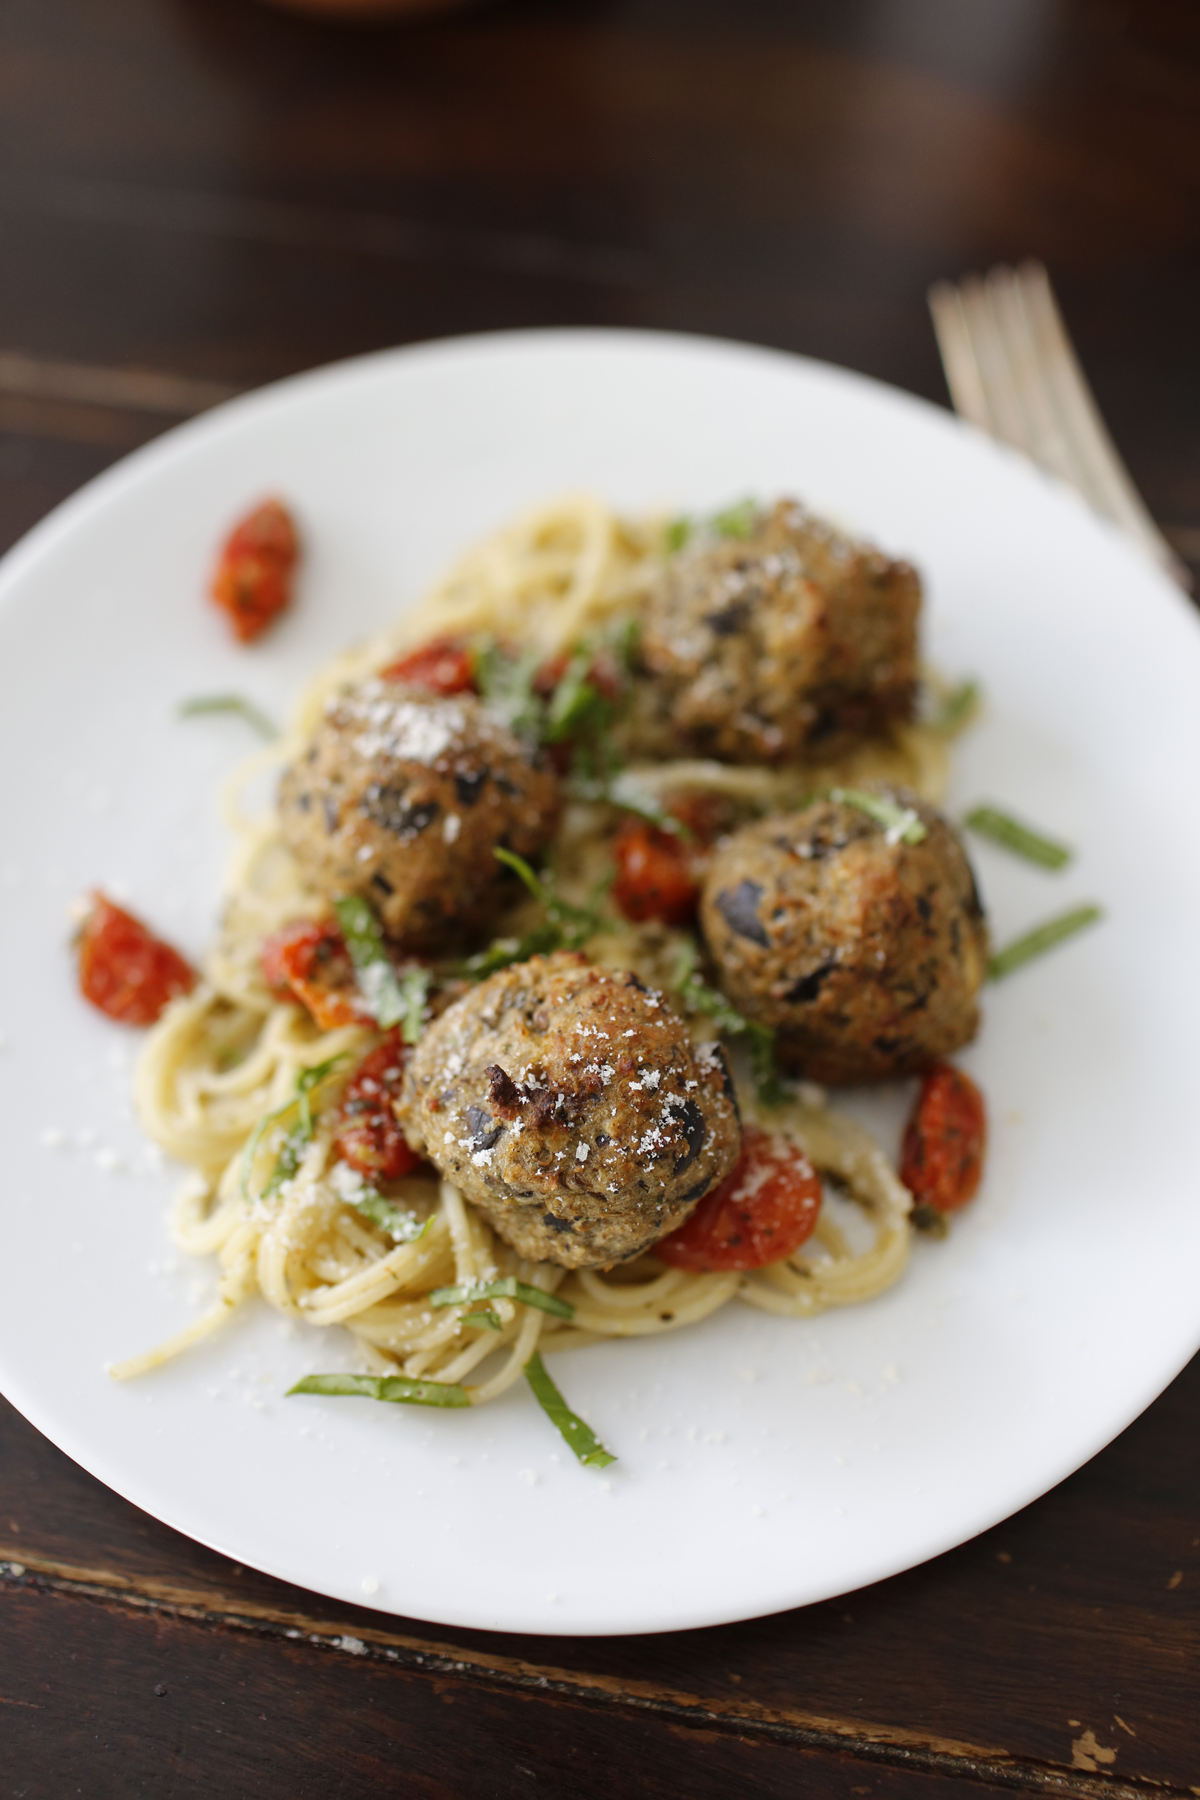
Step 4. Re-spray your cookie sheet and roll out your eggplant (meatless) meatballs into approximately 2 inches wide balls. Return to oven and bake for 30 minutes.
I wasn’t really sure how these were going to taste, but they were amazing! Amazeballs if you will. I plan to make these again and again. The originally recipe called for white beans and whole wheat bread crumbs. Since I used quinoa and almond flour instead, they had a bit of crunchy to them. I do plan to try it with bread crumbs and white beans. I almost used chick peas, but didn’t want to bother with shelling them. If you are a vegetarian you can of course omit the egg or substitute with flax seed.
So tasty!
I loved them. Also, they have been kid tested and kid approved. That’s a win in my book.