Fried Eggplant Sandwich

Fried Eggplant Sandwich

Fried Eggplant Sandwich with sweet pepper and garlic spread

Before you go and get started on this project of a sandwich, let me warn you… it takes some time. Completely worth it in the end. I prefer to make this when I already have left over fried eggplant from the day before. But if you’re in the mood for a delicious, hearty, warm and gooey sandwich, and you’ve got some time to spare…this one’s for you! I am going to give you all the yummy layers to this satisfying Sammy, get ready for a treat.

I like to keep this roasted mini sweet pepper and garlic spread on hand. Not only is it super easy to make and store, it goes great on a lot of things! Pasta’s, sandwiches, and even stuffed into  chicken!

Roasted sweet pepper and garlic Spread

To make: Buy a bag of mini sweet peppers and a whole head of garlic. Remove seeds and stems from peppers and cut them in half. Place your chopped peppers along with 4-5 big garlic cloves on a baking sheet, drizzle some olive oil and sea salt of the top and bake at 400 degrees until golden.

Roasting mini sweet peppers

delicious roasted mini sweet peppers

Let it cool and blend in a small food processor. Store in glass jar in your refrigerator for up to two months.

roasted sweet pepper and garlic paste

Fried eggplant is one of my favorite snacks. Eggplant is a staple in my kitchen. But I’ve shared this before. To bread my eggplant I give them an egg bath and dip them in a 2-3 ratio of parmesan cheese and bread crumbs. Add a pinch of salt to your dry mix. I like to bread all the eggplant prior to starting, this way I am not trying to do two things at once, causing me to burn them.
Fry on both sides until golden brown in some extra virgin olive oil.

breaded eggplant to fry

frying eggplant

perfectly fried eggplant

Now to the good part, building this amazing sandwich for you to actually enjoy! I begin toasting my bread with fresh mozzarella on one slice, and my roasted sweet pepper and garlic spread on the other. Once my bread is toasted to buttery perfection I add some thinly sliced tomato, handful of spinach leaves, and of course your fried eggplant. Add as many of each as you want. You really can’t go wrong when making this sandwich.

fresh motzella cheese

roasted sweet pepper and garlic spread

layered fried eggplant sandwich

I could eat this sandwich everyday, and not get sick of it. True story.

hearty fried eggplant sandwich

Soft Garlic Pretzel Recipe

Garlic Soft Pretzels

Before you go forward, I am warning you now, this step by step soft garlic pretzel recipe has a lot of photos. Because making pretzels is way harder than I had ever imagined it would be! But in the end it was worth it and we had a lot of fun in the process. We tried to follow along to this recipe we found on Pinterest. And for those of you that aren’t serving a family of 6-8 people, you might want to cut this recipe in half. This recipe will yield 16 small-medium pretzels.

Ingreditents for garlic soft pretzels

Ingredients you’ll need:

For the dough
3 cups warm water (110-115° F)
2 tbsp. sugar
4 tsp. garlic salt
4.5 tsp. instant yeast
9 cups all-purpose flour
4 tbsp. unsalted butter, melted
Vegetable oil, for greasing the bowl
Large dose of patience

For finishing

Cooking spray
20 cups water
1-1/3 cup baking soda
2 egg yolk beaten with 1 tbsp. water
Garlic Salt salt
8 tbsp. melted butter

my boys

Here’s my crew reading through a few recipes to find just the right one.

starting the dough

For the dough, mix together sugar, water, garlic salt, and yeast with a hand mixer on low speed until all of your yeast has dissolved. I ran out of my small jar of yeast, and I started to panic. Then I remembered I’m a rockstar and buy odd things in insane bulk. Like yeast, why in the world do I have this amount of yeast? Um, I was worried about 12-21-12. Yep, I thought there was a chance the world may come to an end and buy lots and lots of yeast seemed like the right thing to do. There, I said it. Not my proudest purchase, but it came in handy today. And if any of my neighbors ever need some yeast, I got their back, for at least the next decade.

use plenty of flour
don't loose track of flour

Add your 9 cups of flour and try not to lose count. Do not pack your flour, scoop it lightly and do not exceed the top line of your measuring cup. This will help keep your dough light and fluffy as is bakes.

add some butter

Add your 4 tablespoons of melted butter. And begin to mix. I do not have a machine mixer so this particular step was long and tedious. Once I felt I had it mixed pretty well, I removed it from the bowl and kneaded it by hand on my counter top. (And its quite possible my pretzels may have had some subtle hues of jelly or ramen noodles based on that last minute audible.)

knead the dough
let dough rise

One you have it kneaded as smooth as possible, roll it into a ball and place it in a large bowl that is lightly greased with vegetable oil. Rub a bit of oil over your dough ball as well. Cover your dough with plastic wrap and let rise for an hour.

line trays with parchment paper

Line your baking sheets with parchment paper and lightly dust them with cooking spray.

seperate into dough balls

Once your dough has risen, separate your dough into 16 equal size dough balls. This part was kind of hard when you have 4 little boys grabbing handfuls. This is where you turn to your large dose of patience. Save some for later as well.

boil water with baking soda

This step seemed odd to me, but I did it and that’s that. Bring your 20 cups of water and 1-1/3 baking soda to a boil.

12

have fun with dough
form pretzel shape

This next portion of pretzel making took a heck of a lot longer than I thought it would. Actually it probably took us about an hour to get our pretzels just right. Reason being was little hands have a harder time getting the dough rolled out into long strands. Ideally try and get your strands to at least 24 inches. I’d say we averaged about 20-22. So some of our pretzels we super fat. Still equally scrumptious, just thick.

pretzels are always perfect

I really loved seeing the wonky pretzels my kiddos formed. To me they were the true pretzel perfection.

16

The boys had such a hard time getting their dough in strands, at one point my oldest son just started swinging his around, which kind of worked as it stretched out a bit. But I do not recommend this method. If you get a little too wild with your swing, your dough will break in half. And then, game over. Gotta start again. And mom has to then consume another large dose of patience. But its ok to laugh, just don’t belly laugh because that could be easily confused with shenanigan encouragement.

boil pretzels before baking

Here’s what the water and baking soda is for… you boil your pretzels for about 30 seconds each and place them back on your baking sheets. They sort of expanded but not by much.

add garlic salt

Take the two beaten egg yolks and brush over your boiled pretzels and add some garlic salt.

bake at 450 for 10 minutes

Bake your pretzels at 450 degrees for 10-12 minutes. We baked them for 10 minutes.

tasty garlic pretzels

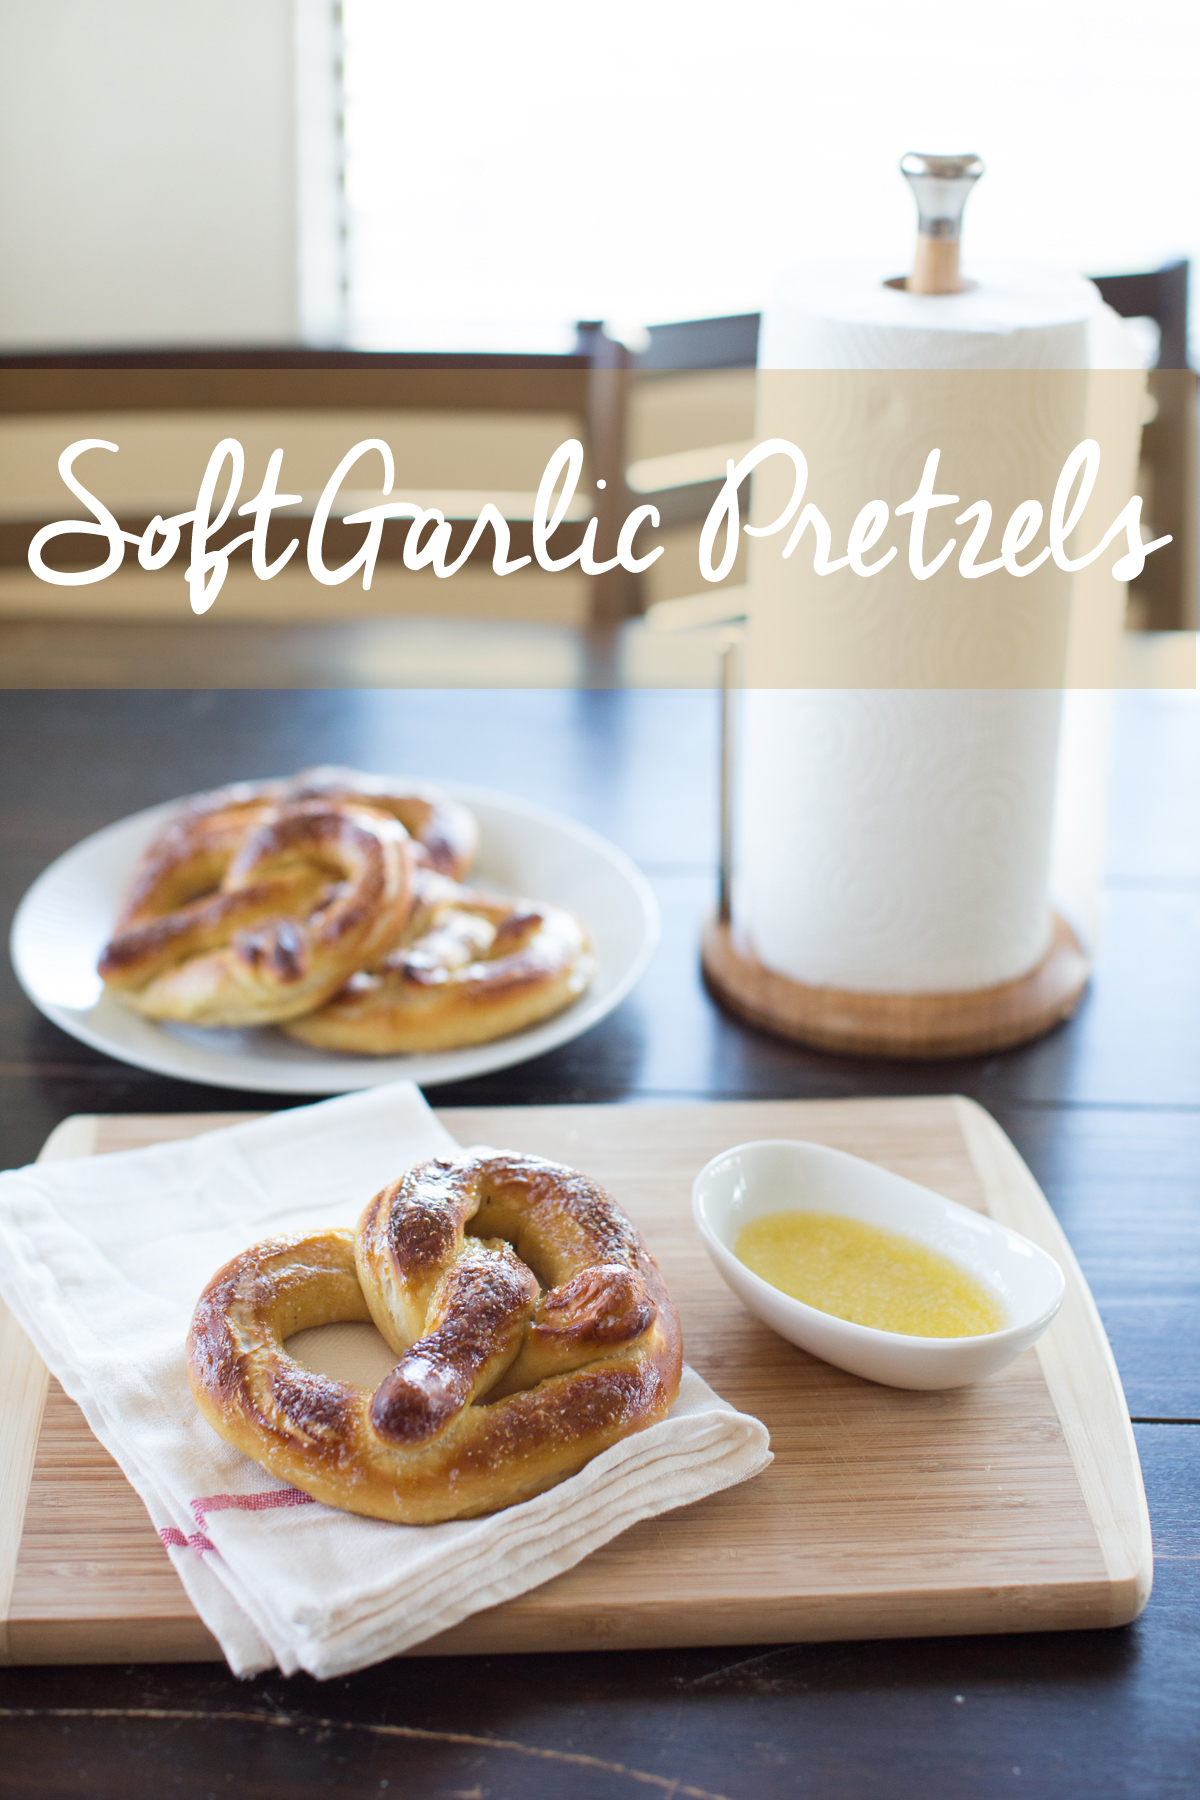
And TADA!! Perfectly tasty soft garlic pretzels!

Soft garlic pretzels

With your remaining 8 tablespoons for butter, melt that down and add a few dashes of garlic salt for dipping! Of course you could also use cheese sauce, ranch, or something else you might like.

22

23

24

25

26

Pot Roast Perfection

“Do I smell a  pot roast???” Any one seen Diary of a wimpy kid? Well this is a line off the movie, one that I hear anytime I am making a Pot Roast, Said by Brady.

A tried and true family favorite. And honestly one that is thoughtless and time saving. I have to admit, I don’t care for a lot of red meat. But if, and when I do decide to put it on the table for dinner… it’s often in the form of a roast. I have tried to make roast in many different ways. And of course, just as the coined phrase goes, “if it ain’t broke, don’t fix it”. This is the way I was taught to make a roast when I was a teen. It’s simple, tasty, and takes little time and attention.

Ingrediants to the perfect pot roast

Here’s what you’ll need:
A nice chuck or rump roast (Thawed)
Extra virgin olive oil
Garlic Powder
Seasoned Salt
Black Pepper
Head of garlic
A few large carrots
A large sautéing pan
A large crock pot
Some beef stock

(These ingredients are major staples in my cooking: garlic powder, seasoned salt.)

So to get started add a few tablespoons of olive oil to your sauté pan and heat on medium high. Season the roast generously with the garlic powder and seasoned salt, and lightly dash some pepper. Be sure you do this to both sides of the roast and the edges. Add to your oil and brown both sides and all the edges. Browning is the key to a tastier, juicier, and all around better roast.

browning the pot roast

After you have given your roast a nice crusty brown layer, transfer to your crock pot and set aside. Chop up your carrots into bite size pieces, and separate your garlic cloves. I use the entire head of garlic. Using the remaining oil and season from browning your roast, toss in your carrots and garlic and sauté them until they are a nice golden color.

add carrots and garlic to the pot raost

Once you are done with the carrots and garlic, pour them over your roast. I like to pour the remaining oil over the roast too, waste not want not!

Perfect Pot Roast

I add two beef bouillon cubes and a cup of water to my crock pot and set in high temp. You could also just add a cup or two of beef stock. I usually cook on high for 5-7 hours. So I put my roast on in the mid morning.

A good rule of thumb is an hour for every pound of meat. The longer and slower, the better the meat is to fall right off the roast. And that my friends, is a perfect pot roast.

Perfect Pot Roast everytime

Some of my favorite sides to this delicious roast include, but are not limited too: potatoes, corn on the cob, cauliflower mash, and salad.

This Roast was served over my cheesy garlic and herb cauliflower mash. Pot Roast Perfection, always mouth watering goodness. Hope you enjoy, if you have a pot roast recipe you love please share in the comments!